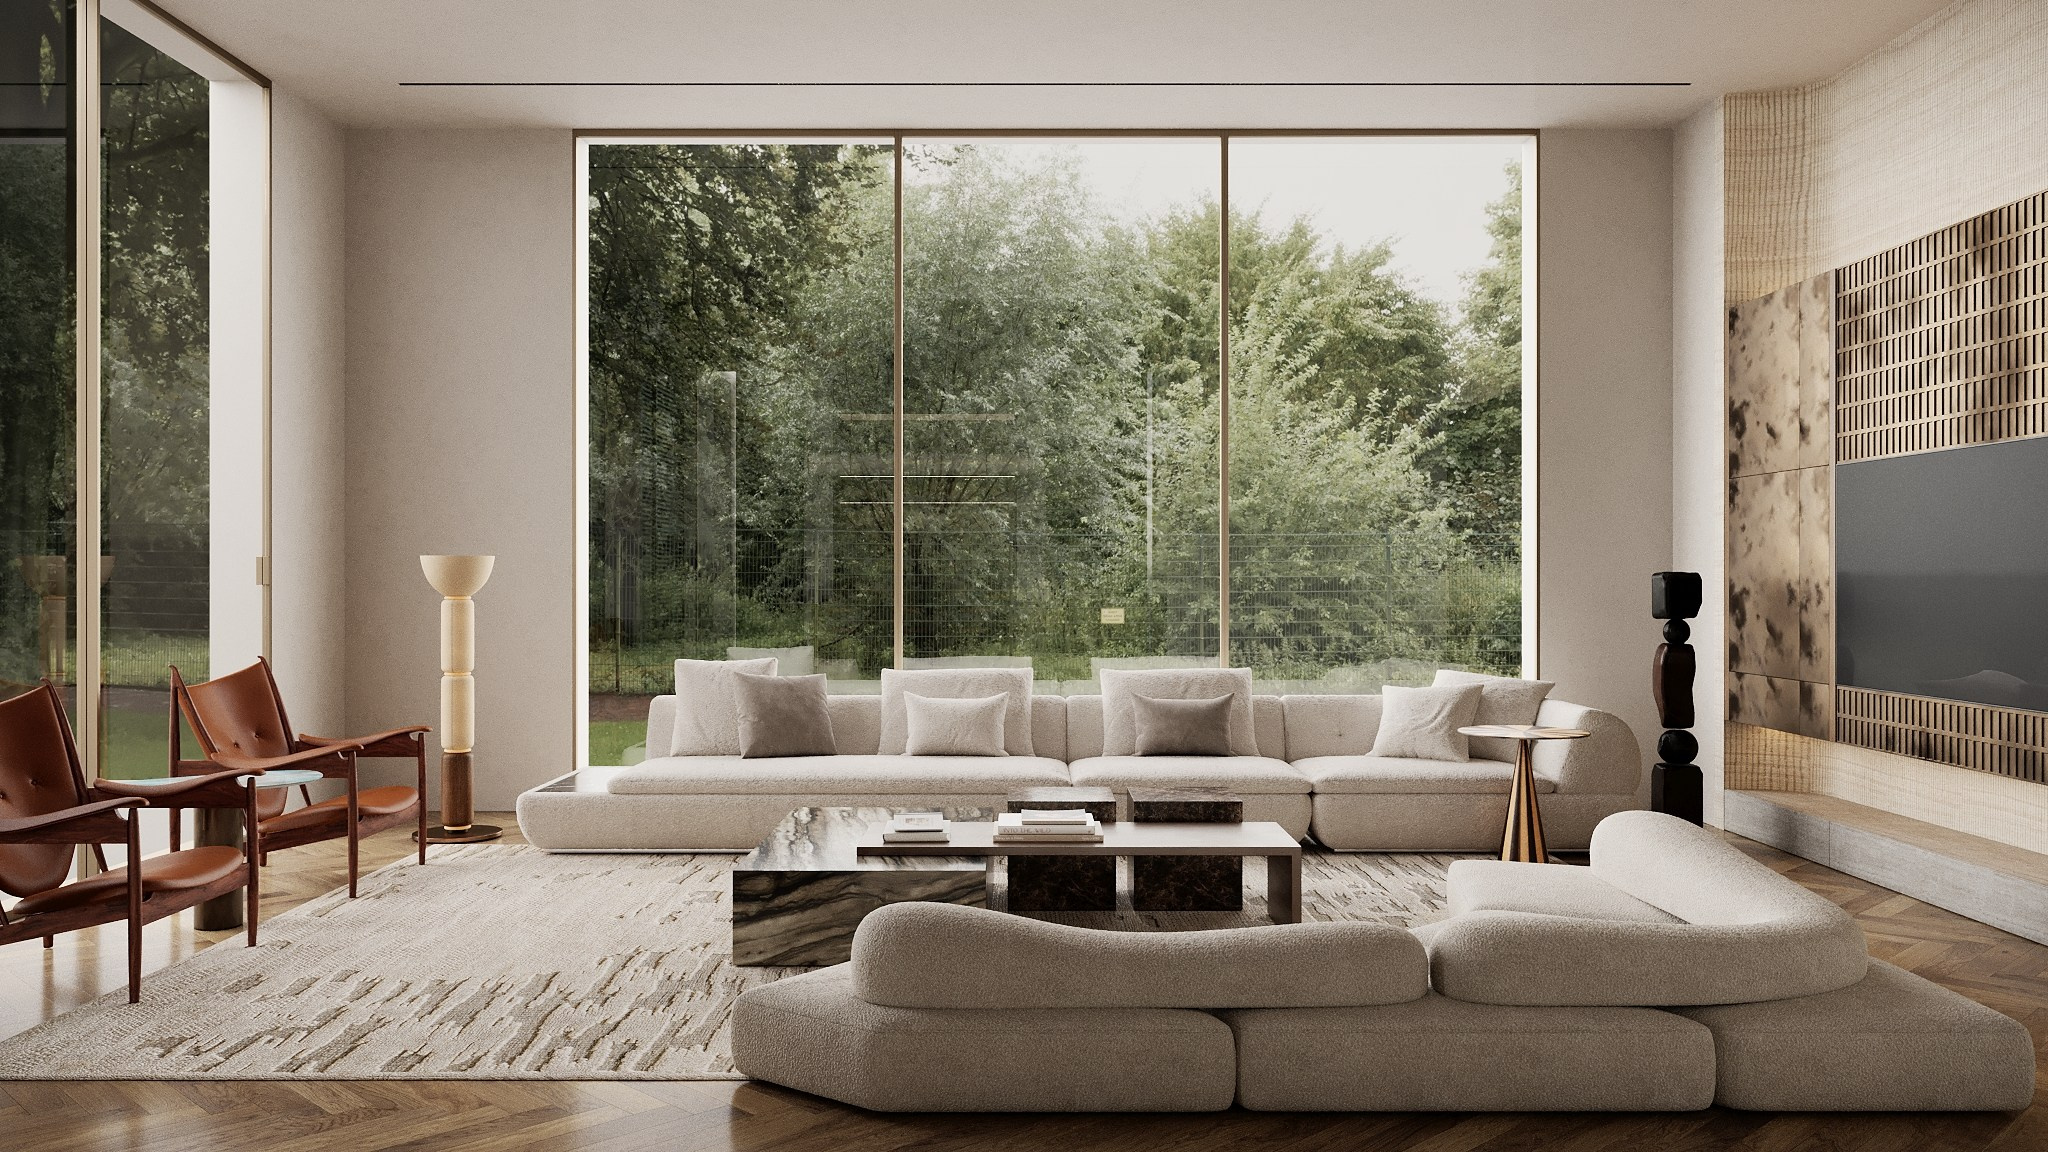
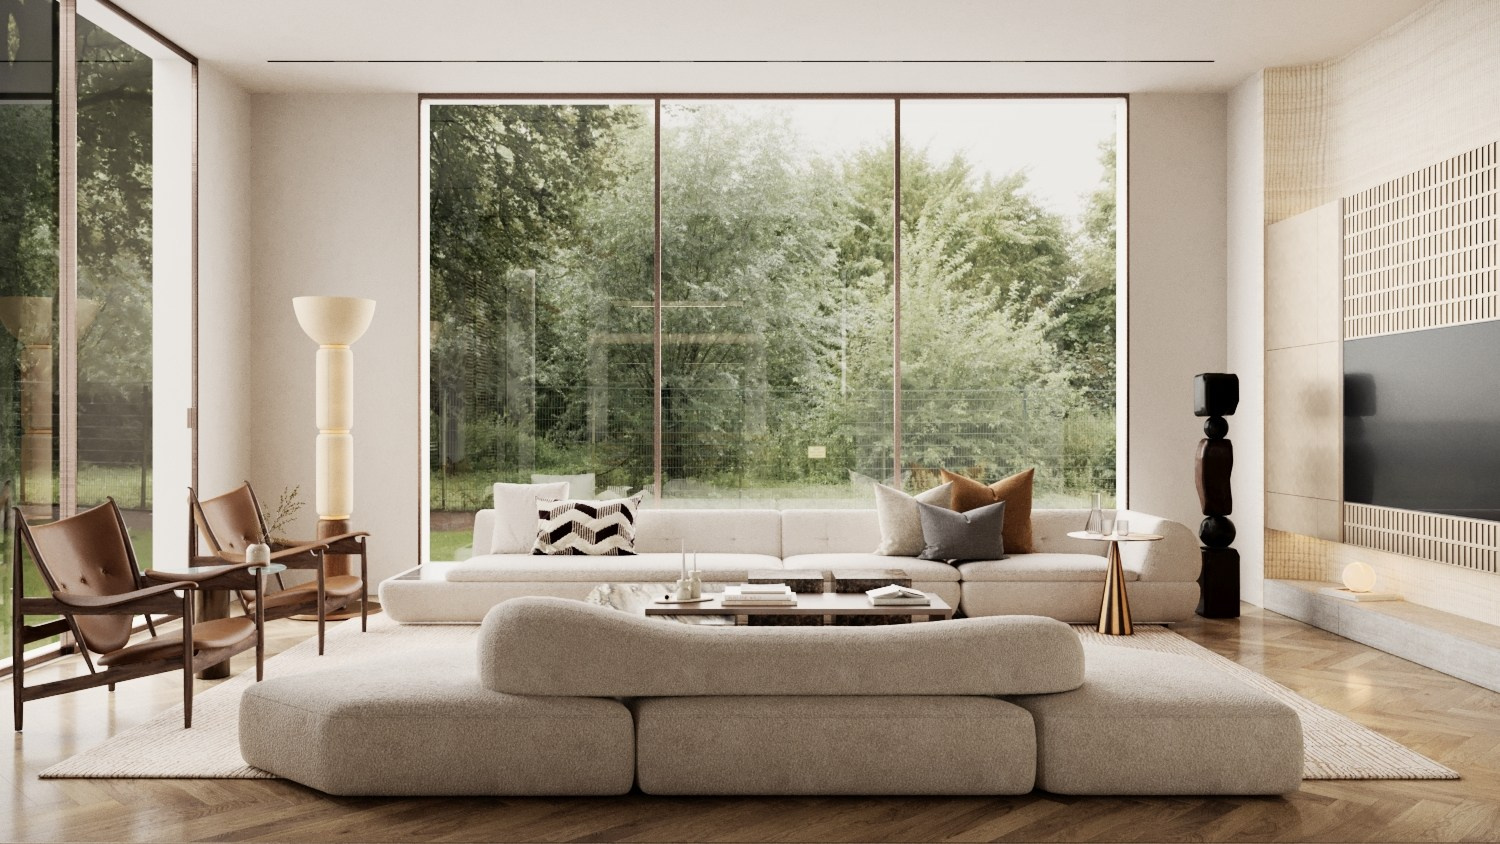
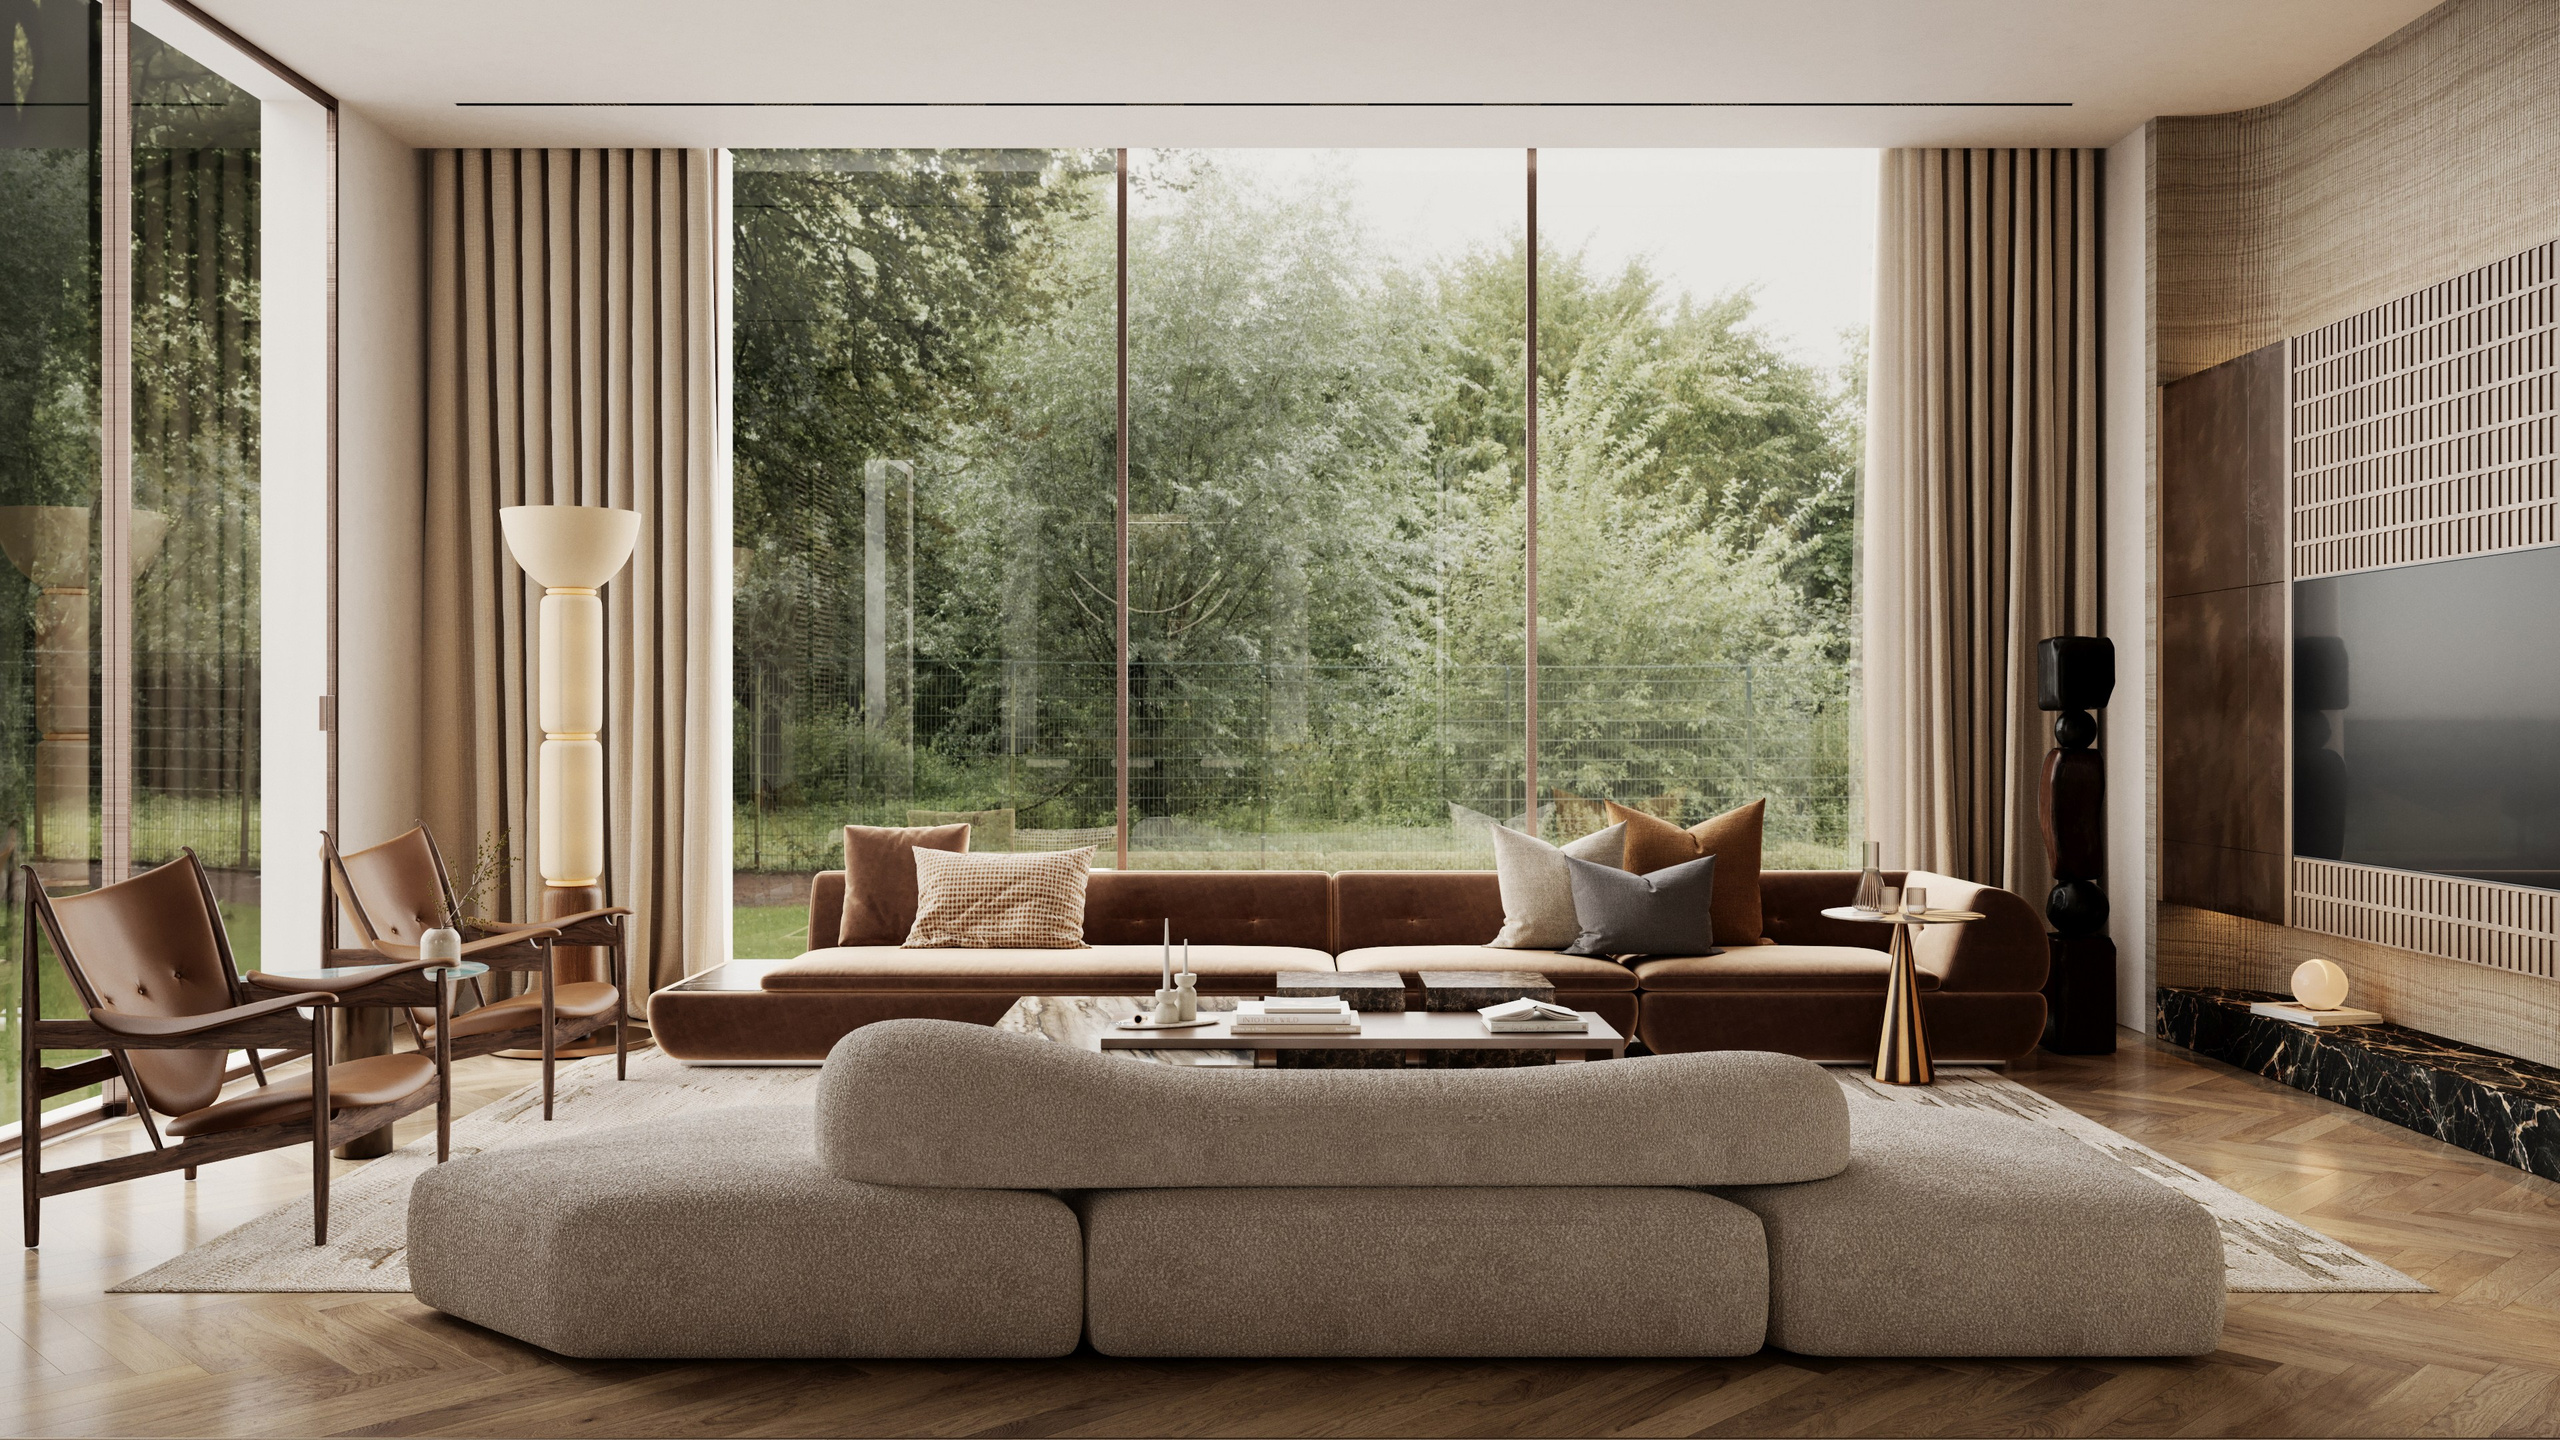
How the visualization process goes
Each stage is important and engaging.
Stage 1
Discussion of the project, receiving the brief, and sending the first test renders.
Stage 2
Making client revisions, refining details, and sending the updated test renders.
Stage 3
Making final client revisions, finalizing the scene, and sending the adjusted draft renders.
Result transfer
Sending the final high-quality adjusted renders to the client.
Stage 1
The first stage involves receiving a brief from you, which may include existing visualizations, CAD files, drawings, sketches, references, and concepts. This brief should be as detailed and accurate as possible. If any information is missing, I will gather the necessary data from you, which may require an additional 2-3 days for clarification. After that, I proceed with modeling, lighting setup, and material adjustments. As a result of the first stage, I will send you renders with 10% noise.


Stage 2
In the second stage, you receive the renders and provide feedback on any adjustments that need to be made. This includes furniture, colors, and finishes. Additionally, the decor and overall ambiance of the interior are refined at this stage. As a result of the second stage, I will send you the corrected renders with 10% noise.
Stage 3
In the third stage, minor adjustments are made, such as changes to the shade of the flooring or materials in the scene. Typically, only a few corrections remain at this point, as all major elements are approved in the previous stages. As a result of this stage, you receive renders with 10% noise, and after they are approved, I will send you the final renders with 3% noise.
